Graph Kit for Ruby: Deployment with Graph Story and Engine Yard
Welcome to the third and final installment of the Graph Kit for Ruby post series. Part 1 kicked the series off with a brief look at the idea of a graph database and some description of the Spree online store I planned to enhance with a graph. Part 2 went in depth with the addition of a graph-powered product recommendation system to a Spree online store. In this final entry we’ll learn how to tweak our Spree + Neo4j store to deploy it to a production server on Engine Yard Cloud.
Provisioning
Pushing this Spree store to Engine Yard worked in three major phases: provisioning the server, configuring the server, and pushing the code. That runs for ten minutes or so, and then you have a new server running. Next up – SSH into the server to do the last-mile config before your first deployment.
Oops! My new server didn’t have my SSH keys! I just uploaded my SSH keys to my Engine Yard account under Tools -> SSH Public Keys -> Add a new SSH public key. You’ll want to do the same if you’re following along at home. If you don’t have a key yet, I recommend GitHub’s explanation on what SSH keys are and how to get one. Once you’ve got your keys uploaded you can safely move on to the ‘boot a new server’ part of the Engine Yard setup.
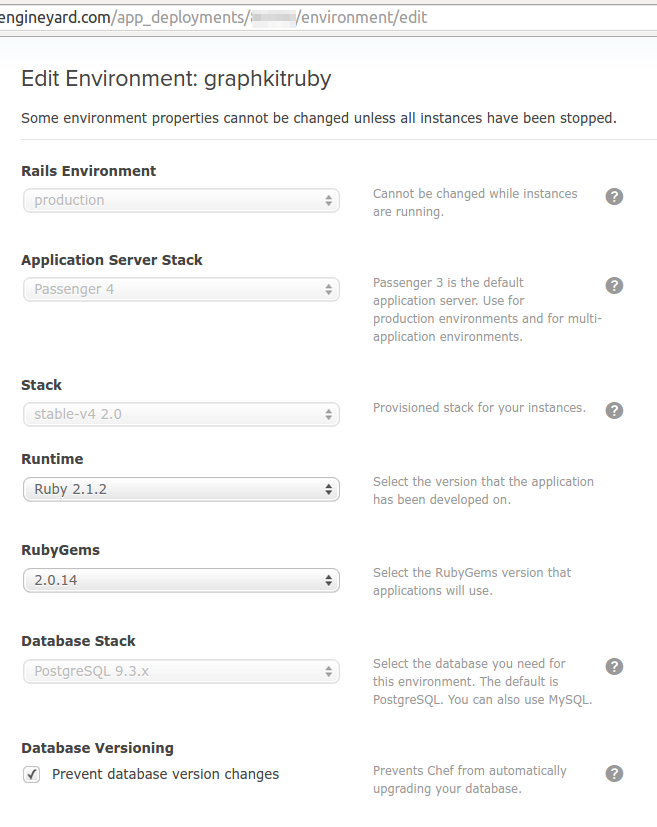
The Engine Yard cloud servers look to be hosted somewhere on Amazon Web Services. Once I got my keys sorted out I created a new application in the control panel and named it graphkit_ruby. I chose some pretty standard Rails app defaults – the latest available version of Ruby, the latest available version of Postgres, and Passenger as the web server. Engine Yard does offer SSL for real production stores but I didn’t bother since I’m not planning to sell these fake pet products.
Configuration
Using environment variables for configuration on Engine Yard
Engine Yard’s provided us with an app server and an RDBMS which covers the basics of Spree. To get our new graph-powered recommendation engine running we’ll also need access to a production graph database. I signed up for a free trial database from the Graph Story front page. To integrate our external Graph Story Neo4j database with Engine Yard we’ve got to have a nice safe way to store our database credentials and pass them to the Rails app at boot time. I’ve gotten in the habit of using environment variables to configure my production applications so I can keep such secrets out of the codebase. Newer versions of Rails support this practice with the addition of a secrets.yml file, but in this case I found it easiest to just use my own custom.env file with the dotenv gem.
To do the same for your app, add the dotenv gem to your Gemfile and then you’ll be able to read environment variables from a text file at run time. This wound up working well with Engine Yard – I just put the file in a shared config folder that is consistently available to the app from one deploy to the next.
We’ll force Rails to load our environment variables from config/env.custom at boot time by setting up a config/boot.rb file that preloads our variables:

I .gitignored this file full of configuration and secrets so the one I’m using locally won’t be automatically pushed to Github or to Engine Yard. We’ll push it up to our Engine Yard server with scp:
scp config/env.custom my-ey-server-name:/data/my-app-name/shared/config/
Note that I was able to omit the full Engine Yard login string because I have my Engine Yard server hostname and credentials set up locally in ~/.ssh/config. If you don’t do that you’ll have to spell out the connection info like scp filename deploy@ey-server-ip-address:destination-folder/ instead. That shared config directory is automatically symlinked into the config subdirectory of each new deployment to Engine Yard.

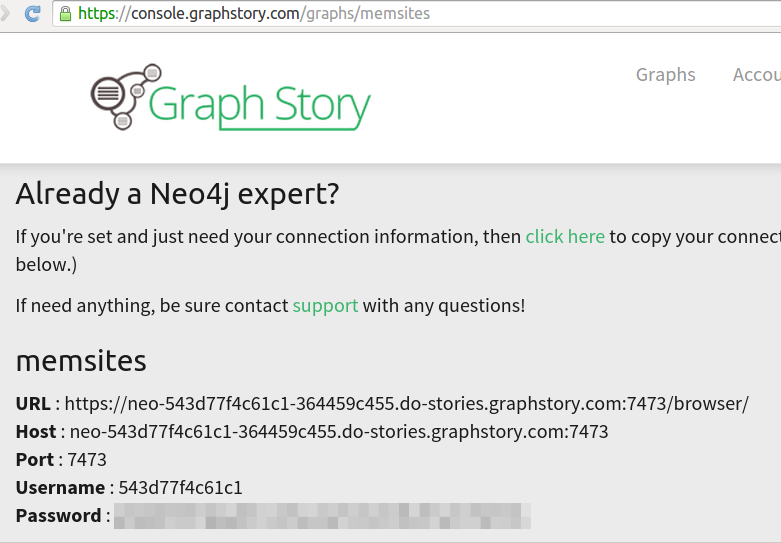
To integrate this custom environment setup with Rails I went ahead and created a custom Neo4j initializer file for Rails that teases apart a database URL-style configuration into the sort of thing that the Neo4j gem is actually looking for. This means that I can punch in a NEO4J_URI variable of the form https://username:password@ autogenerated-hostname.do-stories.graphstory.com:portnumber and Rails will automatically connect to my remote database. With a fallback of localhost:7474 we can seamlessly switch between local Neo4j in dev mode and our actual Graph Story hosted database in production. Speaking of which, you’ll want a free hosted Neo4j database of your own. You can of course sign up from the Graph Story home page. Here’s what the connection info looks like from within my Graph Story admin panel – I copied the server connection information from here into my custom.env and formatted it into a NEO4J_URI string that I configured Rails to recognize via my Neo4j initializer file.
Creating a production secret token to sign cookies
Rails 4.1 uses a secrets.yml file that is .gitignored much like our above env.custom to hold production secrets. I have never messed with those myself but I did notice that it was looking for ENV["SECRET_KEY_BASE"] to set a production secret token for signing sessions. Let’s go ahead and generate one of those and tack it on to the production secret file we already created and then we’re (almost) in business.

Deploying the code and seeding the database
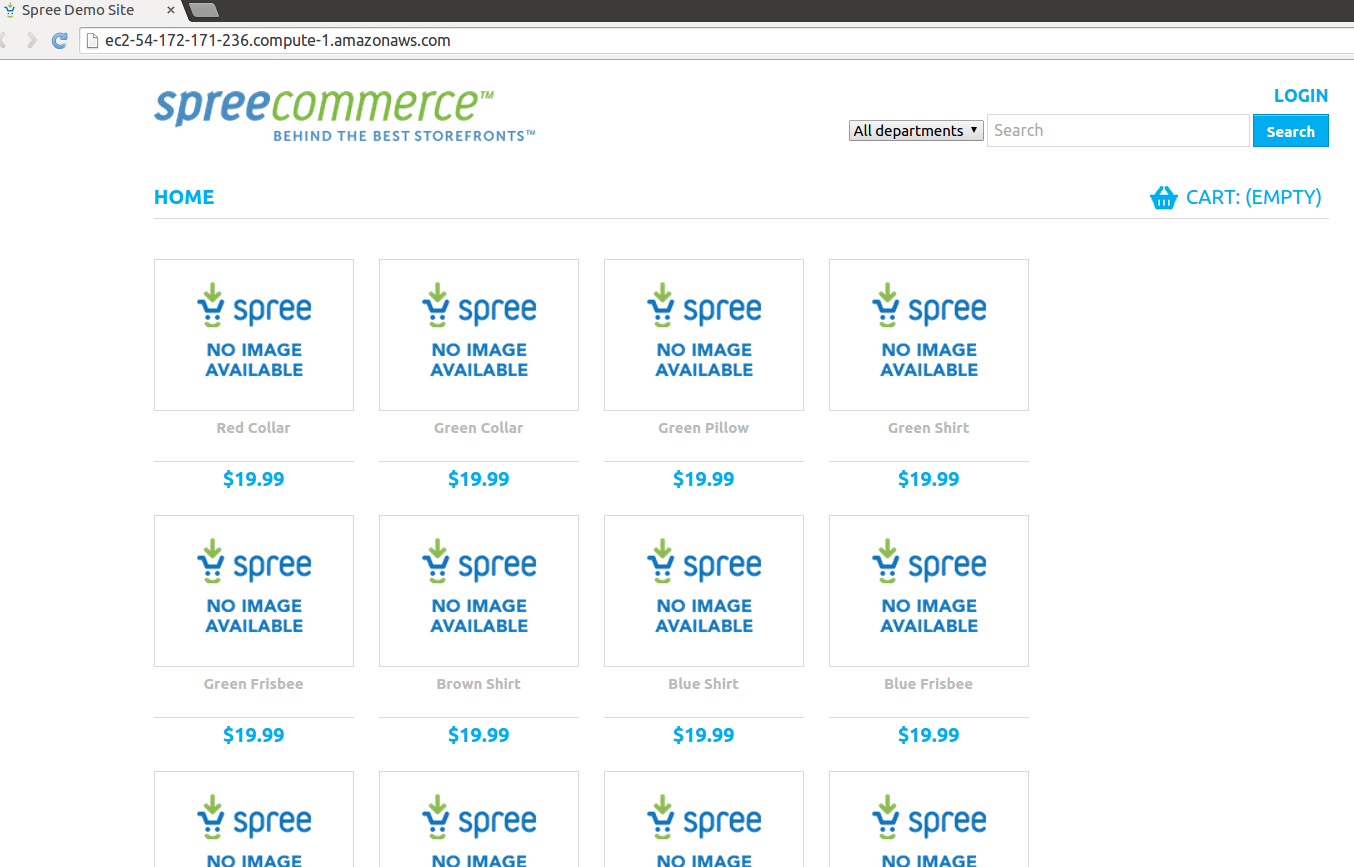
Setting the production secret was the last step in getting my Engine Yard environment to play nice with Spree! From there I clicked the “deploy HEAD” button in my Engine Yard panel and it pulled up the latest code from the Graph Kit Ruby repository on GitHub. Once the code was finally deployed and the app was running I went into my Spree console and ran my database seeds to get an admin user created and to gin up all of those pretend products for our sample data. That’s RAILS_ENV=production rake db:seed from within your app’s deployment directory on the server. Mine was /data/graphkit_ruby/current as shown in the secret key screenshot above.
Next Steps for a Real-World Project
Asynchronous Data Processing
For a high performance production application you wouldn’t really want end users to wait for the round trip between Engine Yard and Graph Story every time we log a new purchase event to the graph. It’d be much smoother to use a background job to send that data over. I’d use Sidekiq if this were a client project – It’s a great Ruby library for background job processing and it comes with a nice job status visualizer. By offloading offloading the graph writes to a background job you allow the web app to respond that much faster. It’s common to do the same with transactional emails and any post-order processing in a high volume Spree site.
Richer Recommendations
Once you get started down the road of tracking purchase events you quickly realize there’s lots of other data you can start tracking to use for better recommendations. Here’s a few ideas: “Users who looked at this also looked at that”, “users in your area also purchased this”, “users who bought this often by that in the same order”. You can also look at copying more of your product and user metadata over to your graph nodes in order to query on product characteristics or user demographics.
Now that you’ve seen how straightforward it is to model nodes and relationships with Neo4j you can imagine how you might start layering your own user location data or per-cart data into your graph for richer recommendations. I hope you’ve had as much fun reading this series as I did writing it!





Share your thoughts with @engineyard on Twitter