A Fast Blogging Solution: Building a Simple Jekyll Blog
A year or so back I was speaking at Cascadia Ruby and I met with a friend and colleague of mine, Gerlando Piro. He was at the conference to attend and give his first ever lightning talk. And in five minutes, my interest was piqued about Jekyll, a simple—very Ruby—way to create static websites and blogs.
Recently, I took some time to look at using Jekyll. I’ve had experience with WordPress, services like Blogger, and of course I’ve done the classic (but now a bit dated) Learn Rails by building a blog in 15 minutes. But I needed to know what the differences were. Was Jekyll more hands on, like building a blog in Rails? Or was it all templating hoping for the best like WordPress? Here’s what I found out.
Setting Up
The beginning was fairly easy, not that different from creating a Rails project really. Heading to my project directory, it was a simple matter of grabbing the Jekyll gem and starting a project. Note: I was using Ruby 2.1.1 for these examples.
It starts like this:
ey-Neverland:~/projects$ gem install jekyll
...
...
31 gems installed
ey-Neverland:~/projects$ jekyll new pjblog
New jekyll site installed in /Users/pjhagerty/projects/pjblog.
ey-Neverland:~/projects$ cd pjblog
ey-Neverland:~/projects/pjblog$ jekyll build
Here, we are installing the gem, creating the blog directory, and initialising the blog. This is similar to the initial setup with Rails, where you get the “Riding the Rails” page.
After you’ve done this, youwill be able to see a demo blog, which you can serve up by running this command:
ey-Neverland:~/projects/pjblog$ jekyll serve

Configuration file: /Users/pjhagerty/projects/pjblog/_config.yml
    	Source: /Users/pjhagerty/projects/pjblog
Destination: /Users/pjhagerty/projects/pjblog/_site
Generating...
            	done.
Auto-regeneration: enabled for '/Users/pjhagerty/projects/pjblog'
Configuration file: /Users/pjhagerty/projects/pjblog/_config.yml
Server address: http://127.0.0.1:4000/
Now, open that in your browser, and you should see this:

Have a poke around the file structure that was creasted for you. The next step is to start making some minor edits. Be sure to create a post, get rid of the standard one that comes with it , and customise the about page. Once you have things mostly the way you want, you’ll want to edit the _config.yml file. This will allow you to really customise your blog and make it yours.
Here’s an example config file:
# Site settings
title: PJ's Blog-O-Static
email: [email protected]
description: The main purpose of this blog is to try a few things and maybe document some coding experiments and whatnot.  We'll see how it goes.
baseurl: "" # the subpath of your site, e.g. /blog/
url: "http://myurl.io" # the base hostname & protocol for your site
twitter_username: aspleenic
github_username:  aspleenic

# Build settings
markdown: kramdown
Once this is in place, and you’ve adjusted the styles to meet your need, you have a simple blog serving static files. Creating a post is just matter of creating a new file in the _posts folder and following markdown conventions.
Here’s an example post:
layout: post
title:  "Welcome to PJ's Blog!"
date:   2015-01-21 23:01:42
categories: welcome

So, I've decided after all this time to try and have a blog.  Thought I'd play around with [Jekyll](http://jekyllrb.com/) a bit and see how it goes.
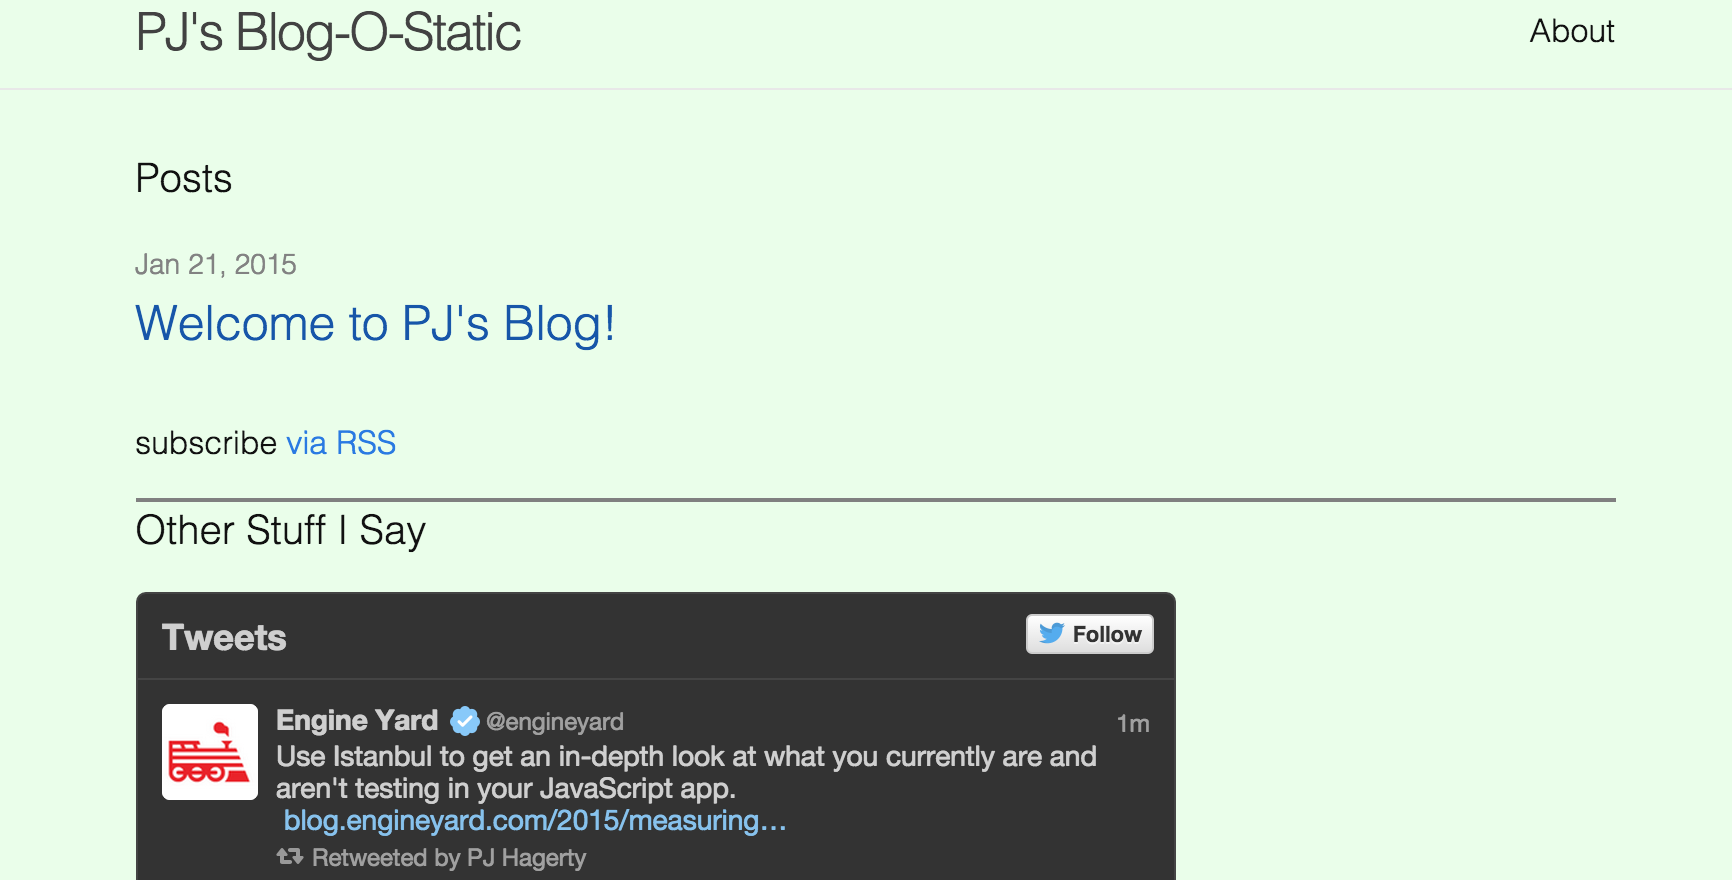
If you serve your blog again, and refresh, you’ll see something like this:

Voila! And all in 10-15 minutes.
Going Further
Once you have this set up and you are comfortable with it, you can look at some of the extensions for Jekyll. Poole is one such extension, providing the foundations for a site setup, including example templates, pages, and a rich array of styles to customize your Jekyll project with. An extension of Poole that works well with Jekyll is Hyde, which provides a template for making your Jekyll blog layout using columns.
Once you feel your site is exactly the way you like locally, it’s time to deploy. With Engine Yard, this is fairly easy. Making sure you’ve included Jekyll in your Gemfile (and we are using Bundler for this, of course) we will need to create a folder called deploy. This is where we will include our deploy hook, called after_bundle.rb letting the platform know we are setting up a Jekyll site.
if config.framework_env == 'staging'
    run "cd #{config.release_path} && bundle exec jekyll build --destination 'public' --future --drafts"
else
    run "cd #{config.release_path} && bundle exec jekyll build --destination 'public'"
end
With this file added, it’s just a matter of heading to your Engine Yard dashboard and clicking Deploy. Or if you’d prefer, you can use the CLI.
Here is the final result created for this post.
Conclusion
Jekyll is an easy way to get started with a blog or to add a blog to your current Ruby or Rails application. For more tips and tricks, check out the Jekyll cheat sheet. (EDIT: And thanks to Reddit user geraldbauer for another great Cheat Sheet - send some karma his way!)
P.S. Do you have experience with Jekyll. Have you created any cool customizations? Throw us a comment below.


Share your thoughts with @engineyard on Twitter
OR
Talk about it on reddit